This article will guide you through the steps required to setup OpenTSDB in Azure, we are going to be using Azure HDInsight to host our Hbase cluster and then setup OpenTSDB to connect to the cluster.
The first thing we need to do is open the Azure portal and navigate to resource groups, once there create a new resource group for OpenTSDB.
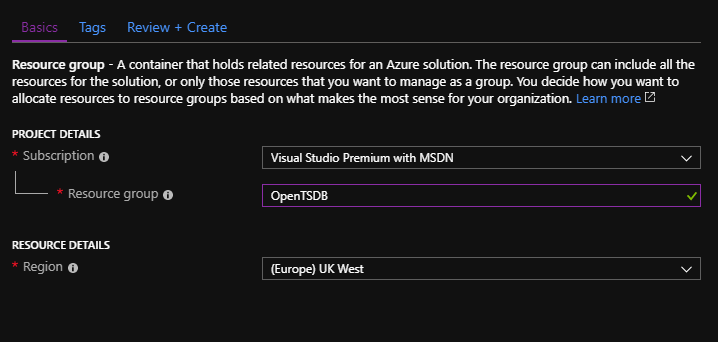
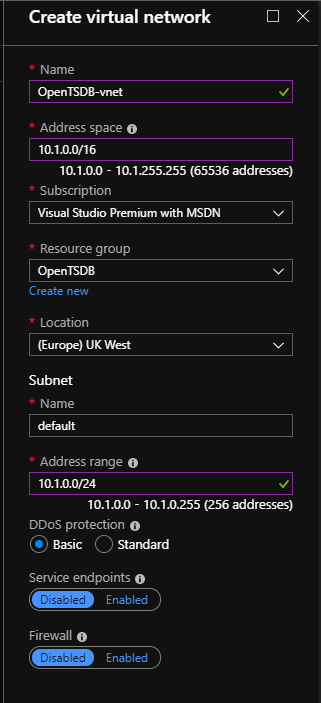
Now we need to create a virtual network for Hbase and OpenTSDB to talk to each other. Navigate to Virtual networks in azure and hit ‘Add’, set the name for your network and assign it to the resource group. All of the other settings can be left at default values.
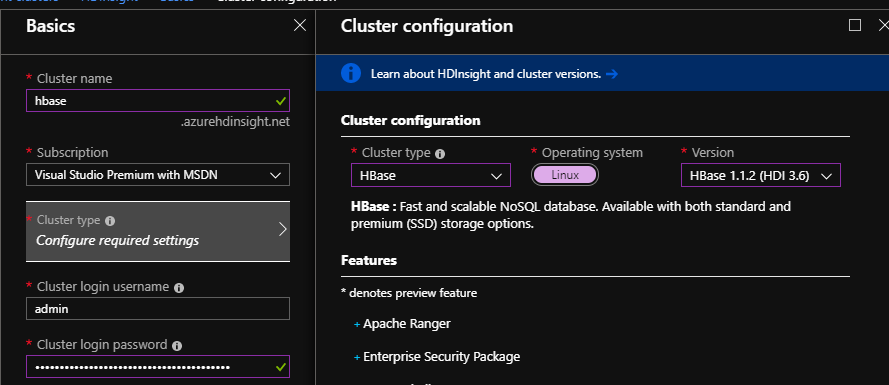
Once the virtual network has been created we can get to setting up our Hbase cluster. Open ‘HDInsight clusters’ in Azure and press ‘Add’, give your cluster a name, set the cluster login password, assign it to the resource group we previously created and set the location. Click ‘Cluster type’ and set this to Hbase before pressing ‘Select’ at the bottom.
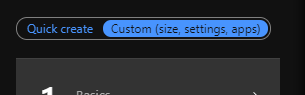
Before hitting ‘Next’ toggle the wizard mode from ‘Quick create’ to ‘Custom (size, settings, apps)’, this will allow us to connect Hbase to our virtual network.
Press ‘Next’ and you should now be on the ‘Security + networking’ page, under ‘Virtual network’ select the network we previously created. Without setting this your Hbase cluster and OpenTSDB will not be able to communicate.

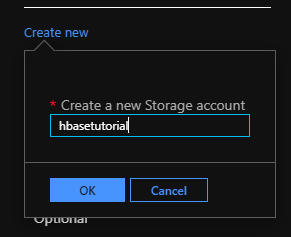
Proceed onto the ‘Storage’ page and create a new storage account for Hbase. One thing to be aware of is that Azure won’t check that there isn’t already a Storage account with the name you specify and then will fail to deploy the cluster later on. Name it something unique before pressing ‘Next’.
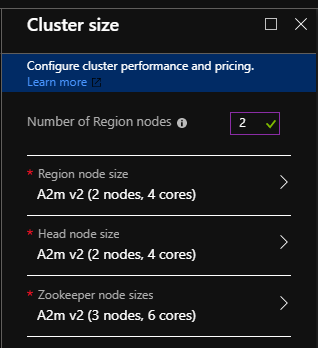
You don’t need to set anything on the ‘Applications’ page so just press ‘Next’. Once you are on the ‘Cluster size’ page set the cluster to the specifications you require before moving onto the ‘Script actions’ page.
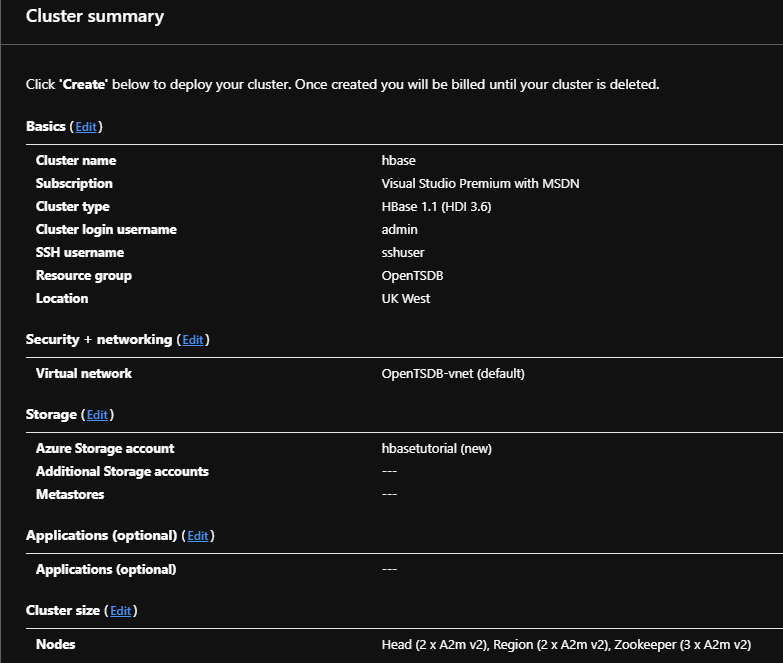
You don’t need any script actions so move onto the summary. Check everything is as you configured (double check the virtual network is set correctly) and hit ‘Create’.
It will take Azure about 20 minutes to build and configure the cluster so while it is doing that we can move onto creating our OpenTSDB server and doing some basic configuration.
Create a new virtual machine in the resource group. I’m going to be using Ubuntu 18.04 LTS for my image and Standard B1ms for my vm size but these can be set to your liking. Make sure the virtual network is set to network we previously created, if you are wanting to configure OpenTSDB outside of that network then add inbound port rules for 22 (SSH) and 4242 (OpenTSDB).
Once Azure has created our VM SSH into it, download the OpenTSDB package and install OpenTSDB.
wget "https://github.com/OpenTSDB/opentsdb/releases/download/v2.4.0/opentsdb-2.4.0_all.deb"sudo dpkg -i opentsdb-2.4.0_all.deb Before starting OpenTSDB we need to install some pre-requisites and update the OpenTSDB config file. Let’s start by installing gnuplot and the Java runtime environment.
sudo apt-get updatesudo apt-get install -y gnuplot sudo apt install -y default-jre Once that’s finished we need to edit the opentsdb.conf file and set a few things up.
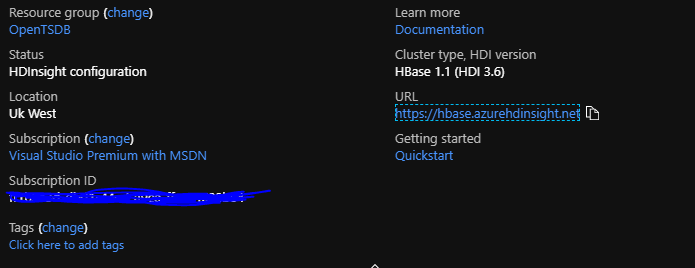
sudo nano /etc/opentsdb/opentsdb.confBefore we set anything in here we need to get the IP address of our zookeeper instances. Hopefully by now Azure has created our Hbase cluster so open HDInsight clusters in Azure and click on your cluster. In the ‘Overview’ page there should be a url for your cluster, click it and login.
Once logged in you should be at the Ambari dashboard. Ambari is a tool by apache and is used to monitor and manage our cluster. Click ‘Hosts’ at the top. Don’t worry if you see some red exclamation marks, Azure probably hasn’t finished its configuration yet. We should now see our zookeeper instances listed at the bottom along with their IP addresses.
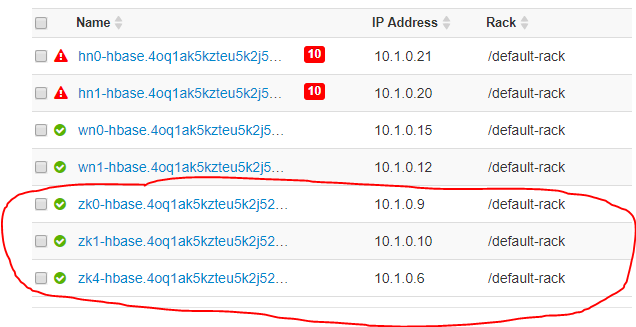
Go back to your OpenTSDB server and enter those IP Addresses as a comma separated list next to tsd.storage.hbase.zk_quorum (make sure you uncomment the line by removing the #).

Uncomment the tsd.storage.hbase.zk_basedir line and set this to /hbase-unsecure.

You can also uncomment tsd.core.auto_create_metrics and set it to true if you want to turn on autometrics.

Save and exit (ctrl+o, enter, ctrl+x).
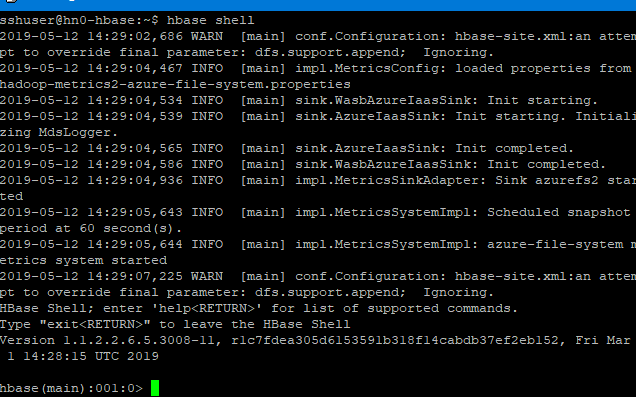
Before starting OpenTSDB we need to SSH into our Hbase cluster and create a few tables for OpenTSDB to use. Go back to Azure and select the Hbase cluster, under ‘Settings’ select ‘SSH + Cluster login’ and set the ‘Hostname’ field to the only available option. SSH into the cluster using the endpoint provided. Once logged in run the following command to get to the Hbase shell.
hbase shellAfter a few seconds you should be at the Hbase shell.
Run the following commands to create the tables for OpenTSDB.
create 'tsdb-uid',
  {NAME => 'id', COMPRESSION => 'NONE', BLOOMFILTER => 'ROW'},
  {NAME => 'name', COMPRESSION => 'NONE', BLOOMFILTER => 'ROW'}
create 'tsdb',
{NAME => 't', VERSIONS => 1, COMPRESSION => 'NONE', BLOOMFILTER => 'ROW'}create 'tsdb-tree',
{NAME => 't', VERSIONS => 1, COMPRESSION => 'NONE', BLOOMFILTER => 'ROW'}create 'tsdb-meta',
{NAME => 'name', COMPRESSION => 'NONE', BLOOMFILTER => 'ROW'}Once done you can use the list command to check all your tables were created successfully.
list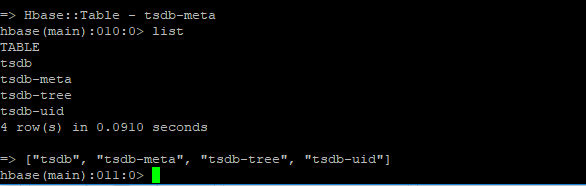
Now go back to your OpenTSDB server and start OpenTSDB.
sudo service opentsdb startYou can check everything started correctly by tailing the opentsdb log file.
tail /var/log/opentsdb/opentsdb.logYou should see a ‘Ready to serve on…’ message if everything has gone to plan.
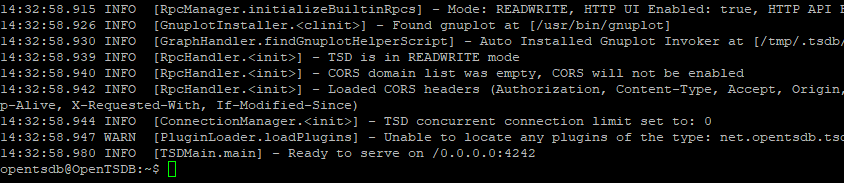
You should now be able to navigate to your OpenTSDB instance on port 4242!
