I have used and managed Azure DevOps Server (previous Team Foundation Server) for several years and now that my daily role includes doing more and more ‘DevOps’ stuff I decided it was time to look into load balancing ADS. I’ve previously looked at this a few years ago and found one out-of-date tutorial which used Windows Network Load Balancing which did get it working however I’ve been wanting to work with HAProxy for a while and now seemed like the perfect opportunity.
This tutorial will cover installing ADS and pointing it to an existing SQL Server and then setting up HAProxy to act as a load balancer. Before starting you will need a configured Domain Controller and an existing SQL Server instance connected to the domain. We will configure ADS to have multiple application tiers and then use HAProxy in a round-robin configuration to load balance between them. You will need two VM’s (or more if you want higher availability) for your ADS Application Tiers, these also need to be joined to the domain. For HAProxy I will be using Ubuntu but pretty much any Linux distro you prefer will be capable. In total you should have something like this (everything is running Windows Server 2016 apart from HAP which is Ubuntu 18.04 LTS):
DC – Domain Controller
SQL – SQL Server
ADS1 – Azure DevOps Server Application Tier 1
ADS2 – Azure DevOps Server Application Tier 2
HAP – HAProxy server
Configuring Azure DevOps Server Application Tiers
Now that you have your infrastructure created we can get Azure DevOps Server installed. Start by remoting onto ADS1, downloading Azure DevOps Server and starting the installation. After it has acquired the components it needs you should be at greeted with this prompt:
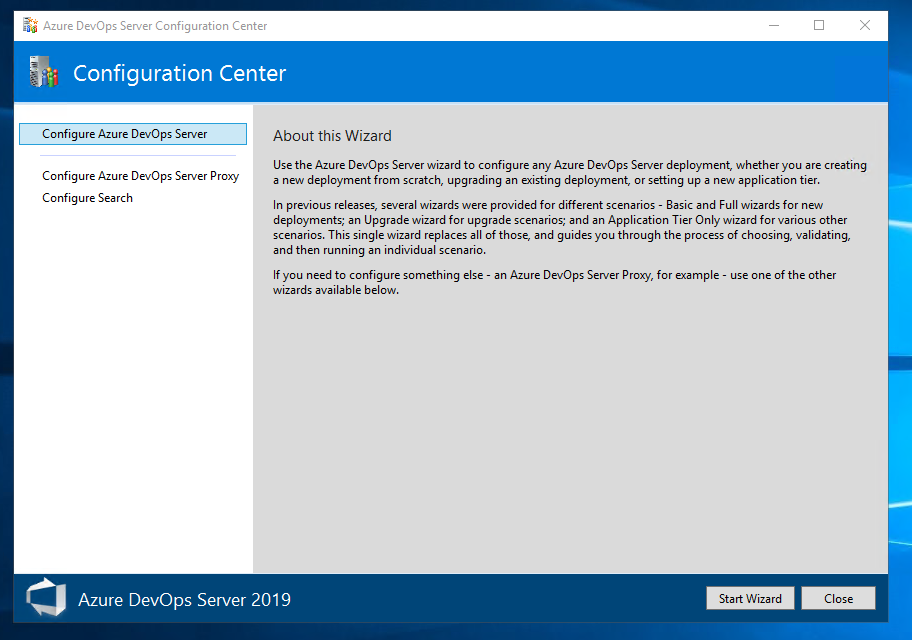
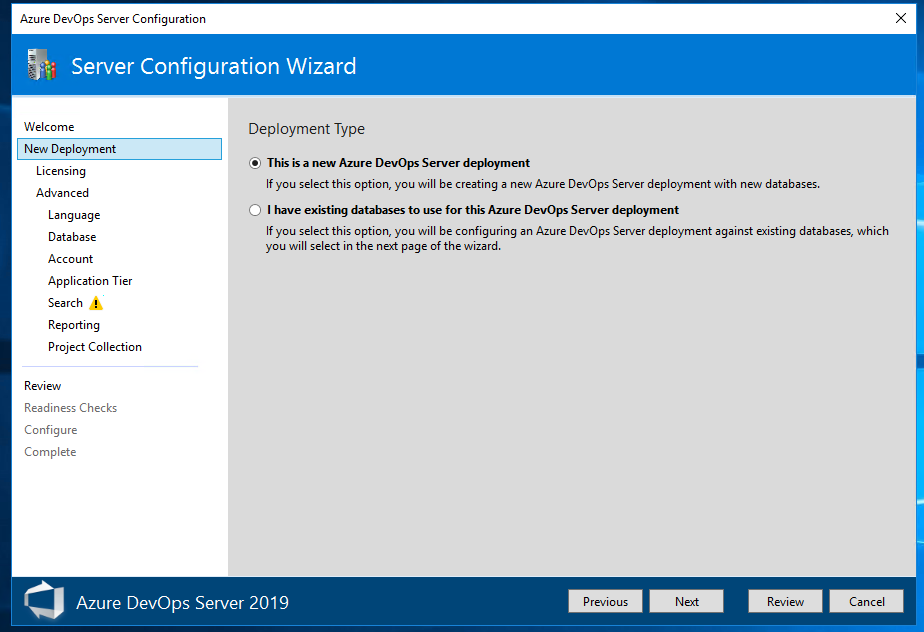
Hit ‘Start Wizard’ and then hit Next, when prompted about Deployment Type select ‘This is a new Azure DevOps Server delpoyment’.
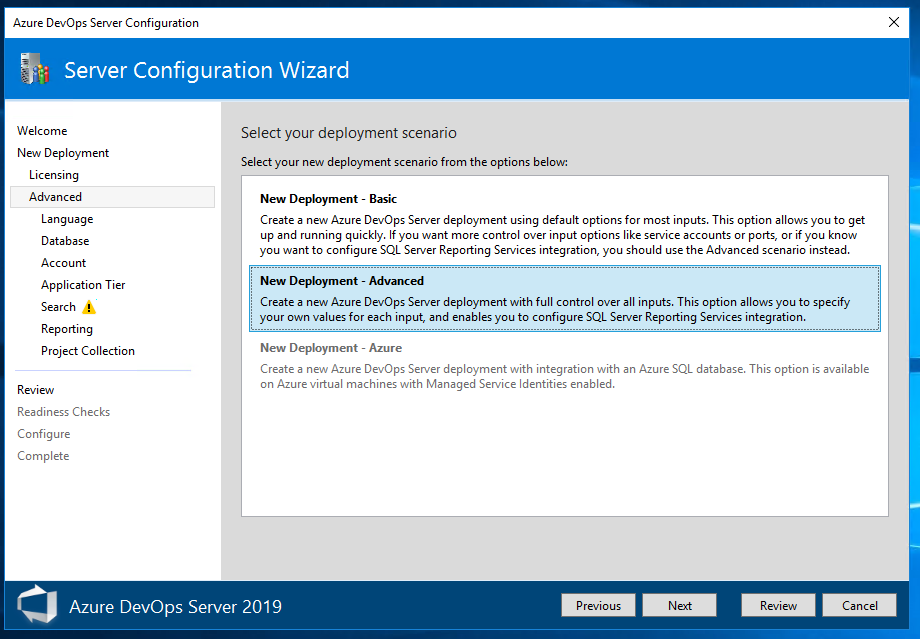
Hit next again until prompted about deployment scenario, I recommend choosing Advanced as it will give you a bit more control over how things are configured.
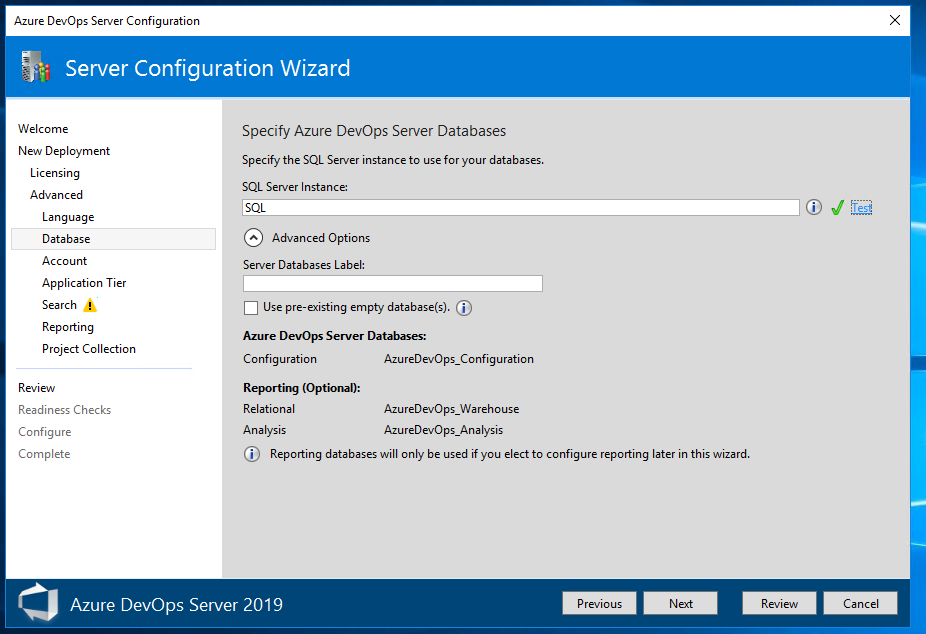
Next you will be prompted to choose your language and then database configuration. When prompted to specify the SQL Server Instance enter the name of your SQL Server. I recommend you hit ‘Test’ to ensure everything is working correctly. If everything is good you should get a green tick.
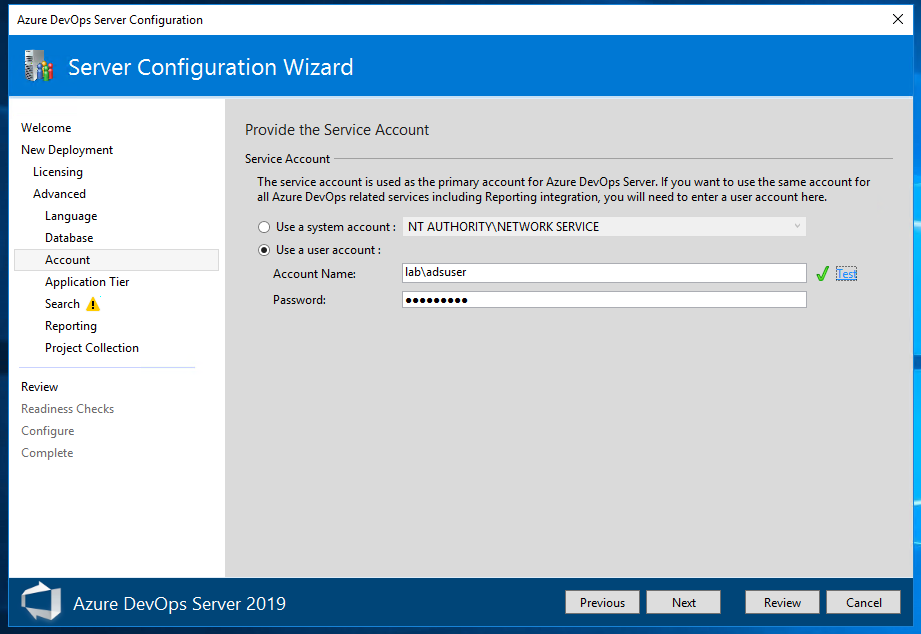
On the next page you will be asked about the Service Account, I have added a user to the AD for my service account however you can use a system account if you wish.
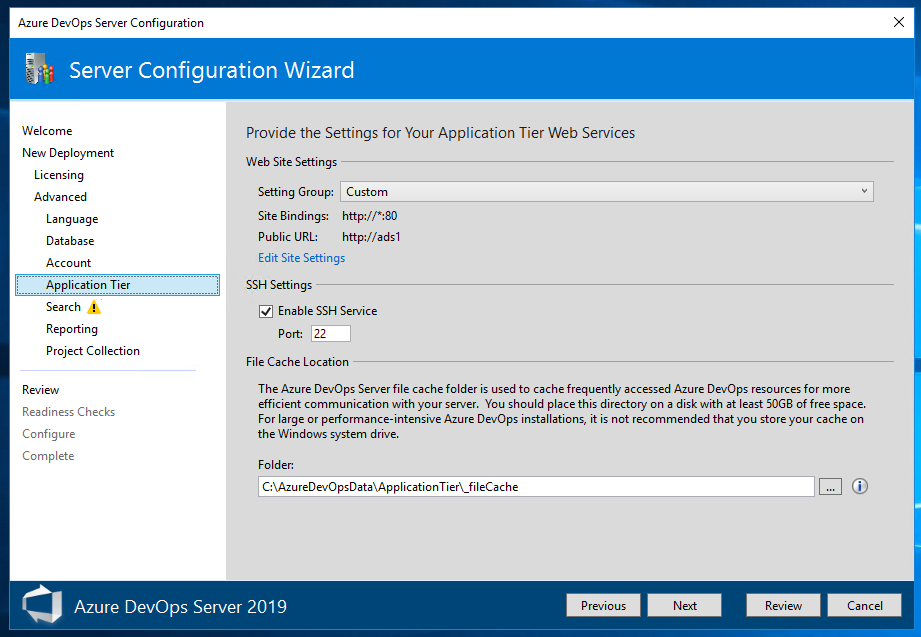
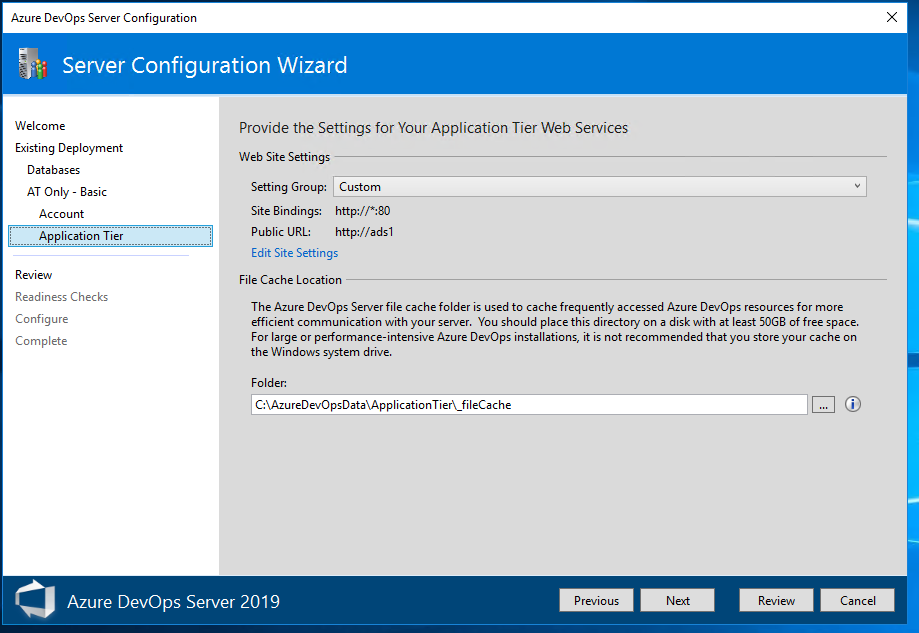
On the Application Tier page I generally leave everything at its default value however if you are installing into a production environment I recommend you configure your site settings and also specify the cache location.
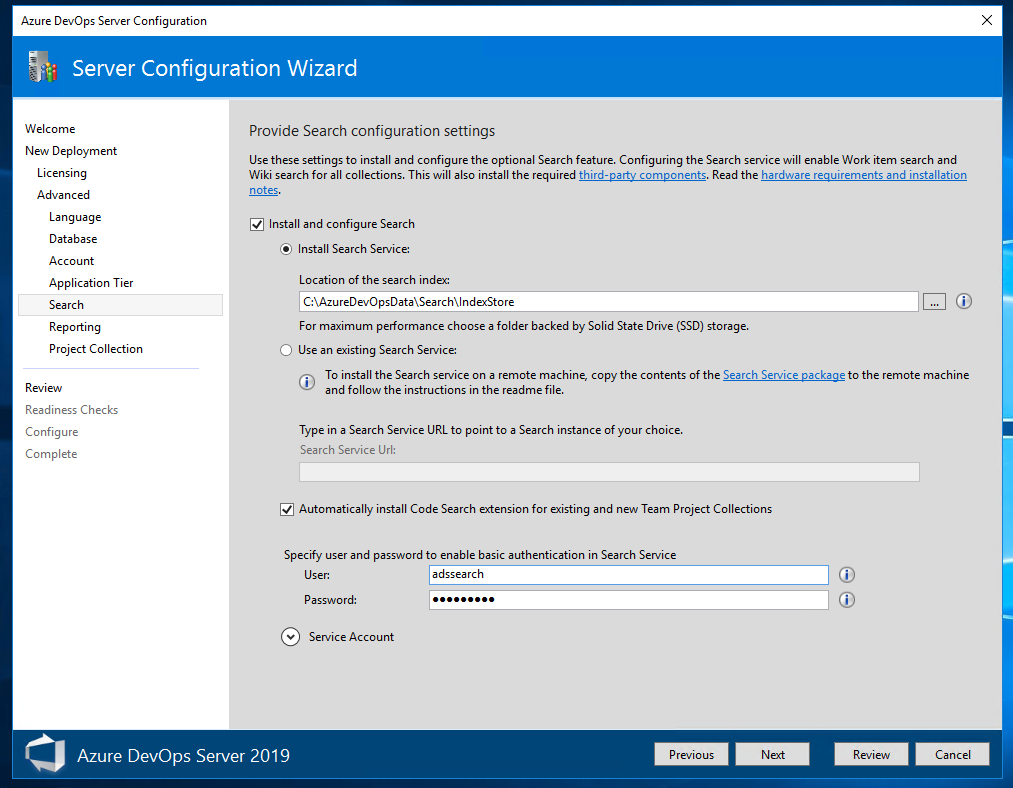
On the next page you can configure Search, you will need to specify a user for search. If you are installing this in a production environment I highly recommend you set the search index location to a high speed storage location (the faster the better).
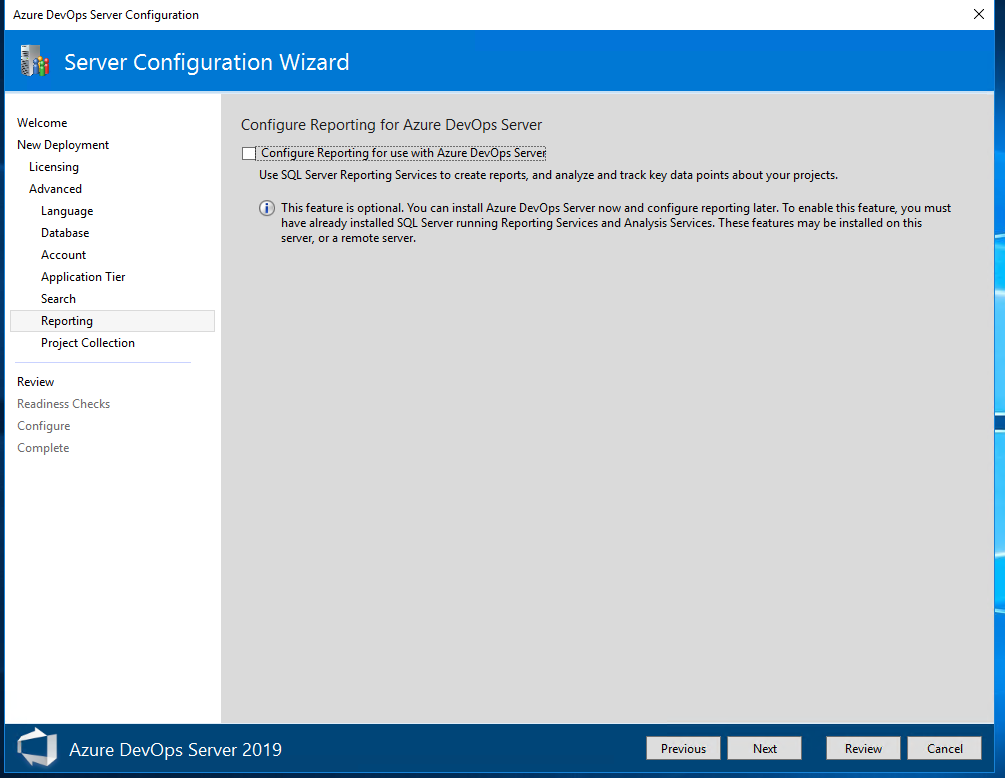
The next page allows you to configure reporting, I will not be enabling reporting for this installation so I will leave this unticked.
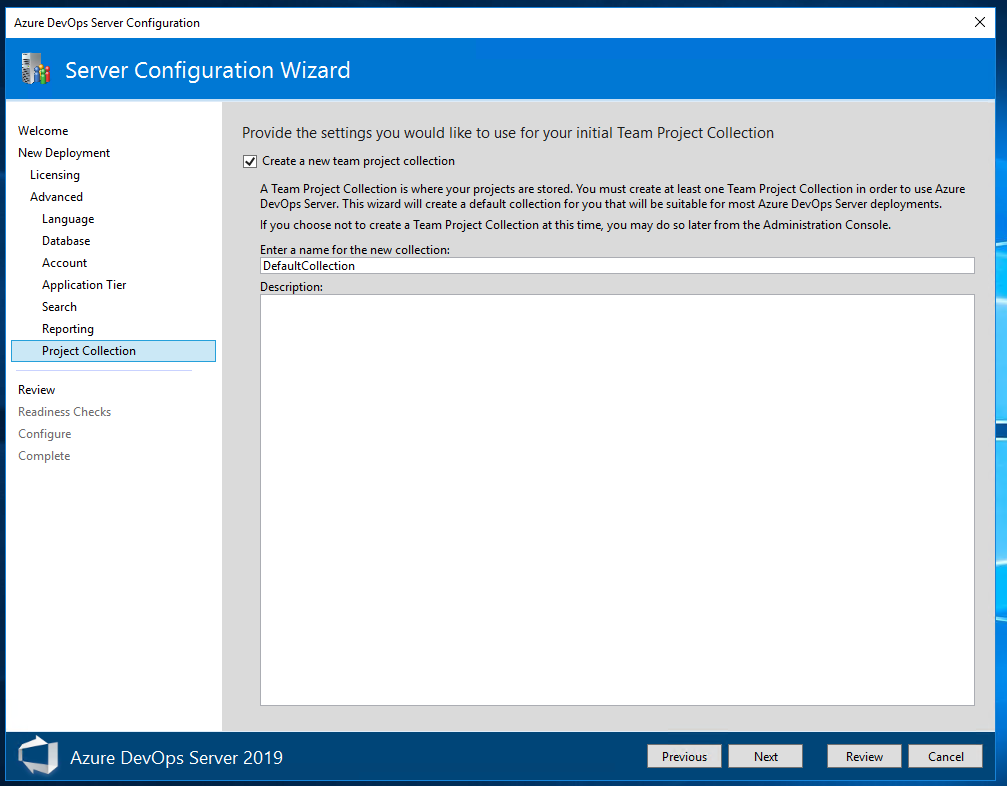
We’re nearly at the end of configuration! Make sure ‘Create a new team project collection’ is enabled and enter a name for your collection. I am just using the default value however you can name yours whatever you want.
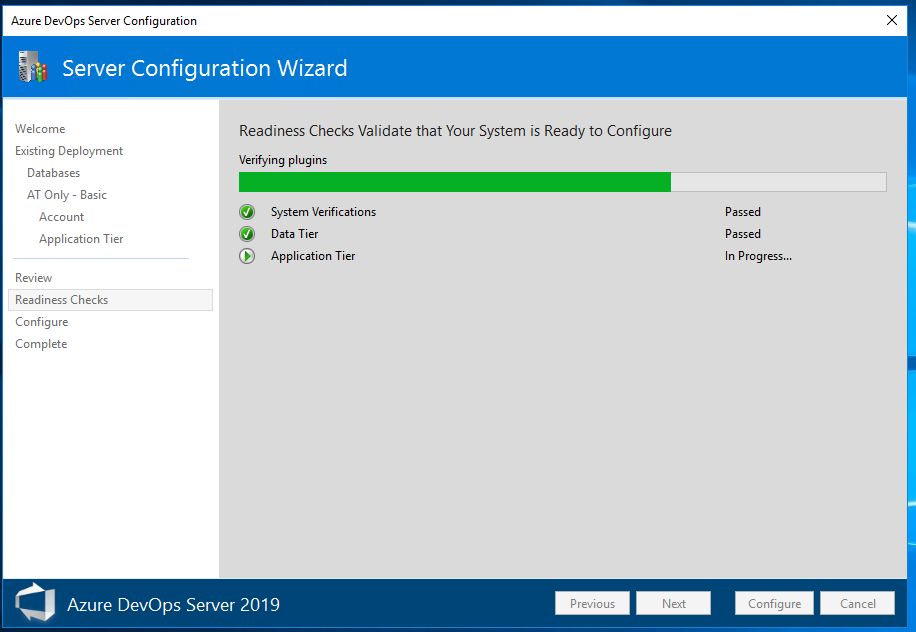
The next page will give you chance to review all of your settings. Once you are happy with everything press ‘Verify’, this will run readiness checks to check everything. If you have configured Search you may be prompted to install Java 8 so tick to install if required.
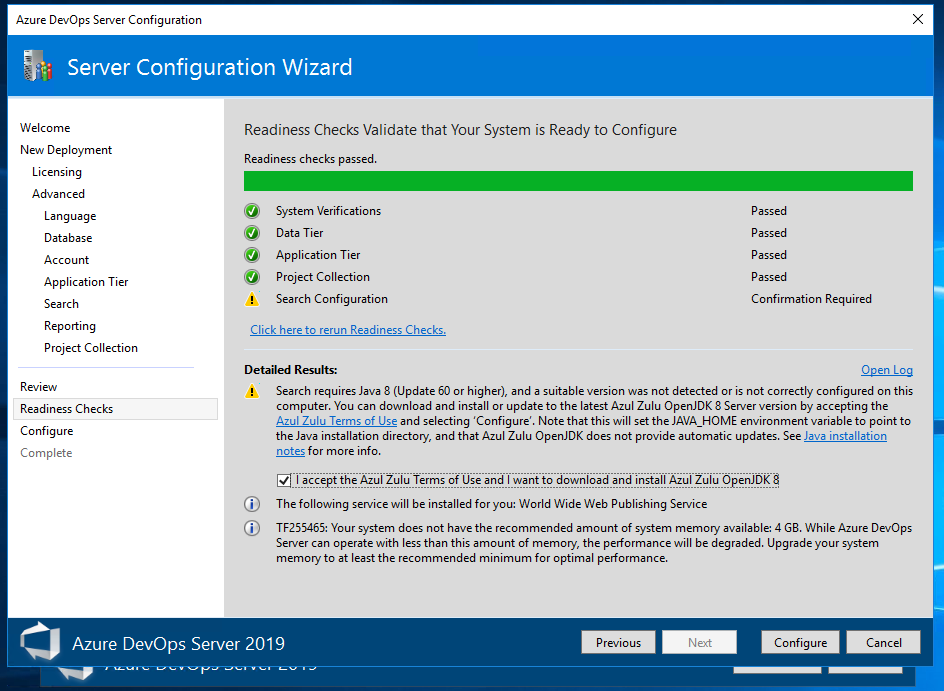
I have also been prompted about having less than the recommended 4GB of memory but this is fine as this is just a test server. When you are ready hit ‘Configure’.
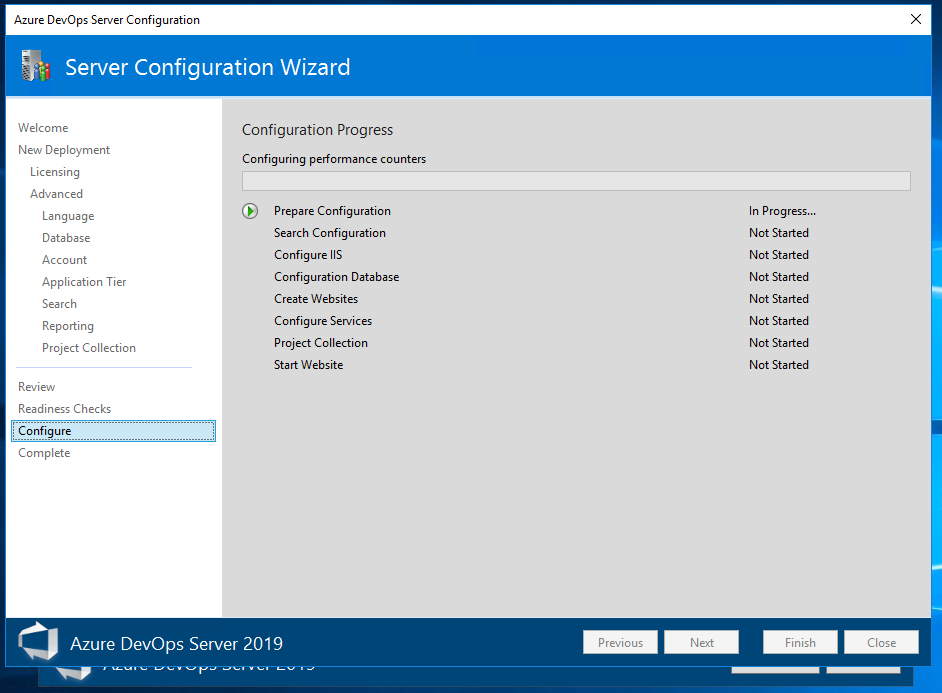
Go and grab and coffee and wait for the configuration to complete, once done you should be greeted with lots of green ticks!
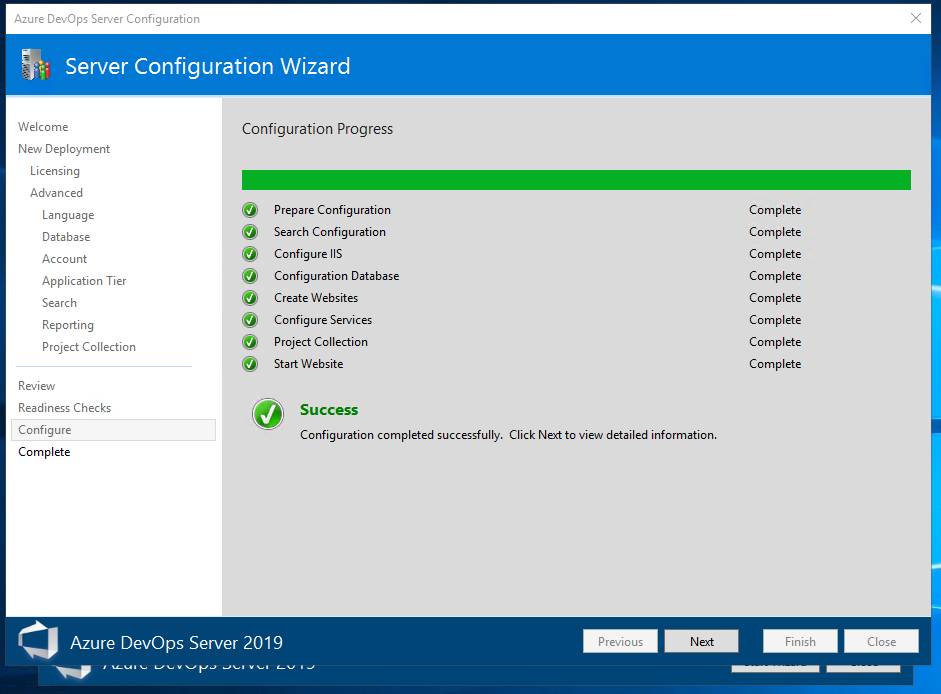
Press ‘Next’ and then ‘Close’. Lets check everything is working by navigating to our instance. If everything has gone to plan you should be asked for credentials and then be asked to create a project.

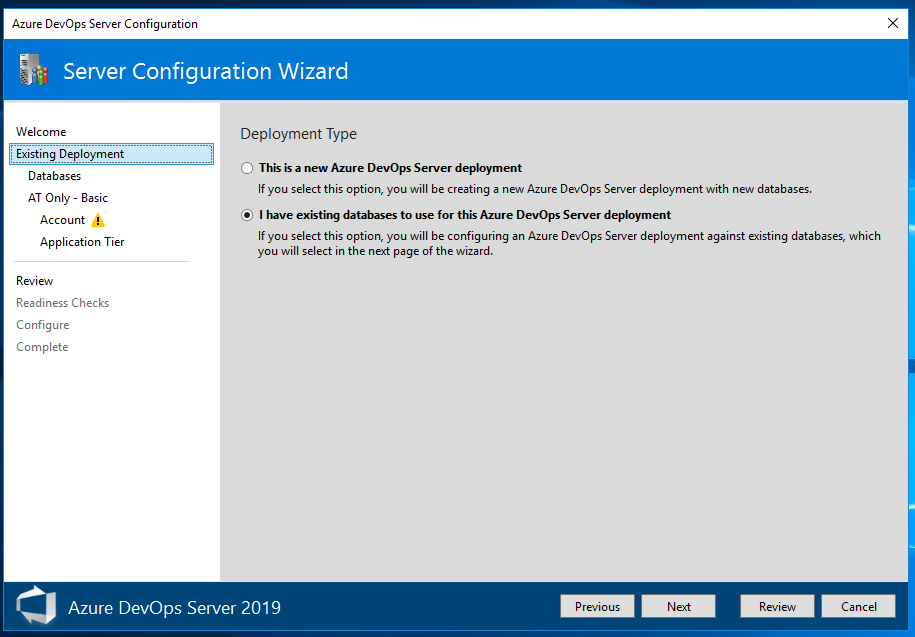
Now we need to install our second application instance. Remote onto ADS2 and start the Azure DevOps Server installation, when prompted about deployment type choose ‘I have existing databases to use for this Azure DevOps Server deployment’.
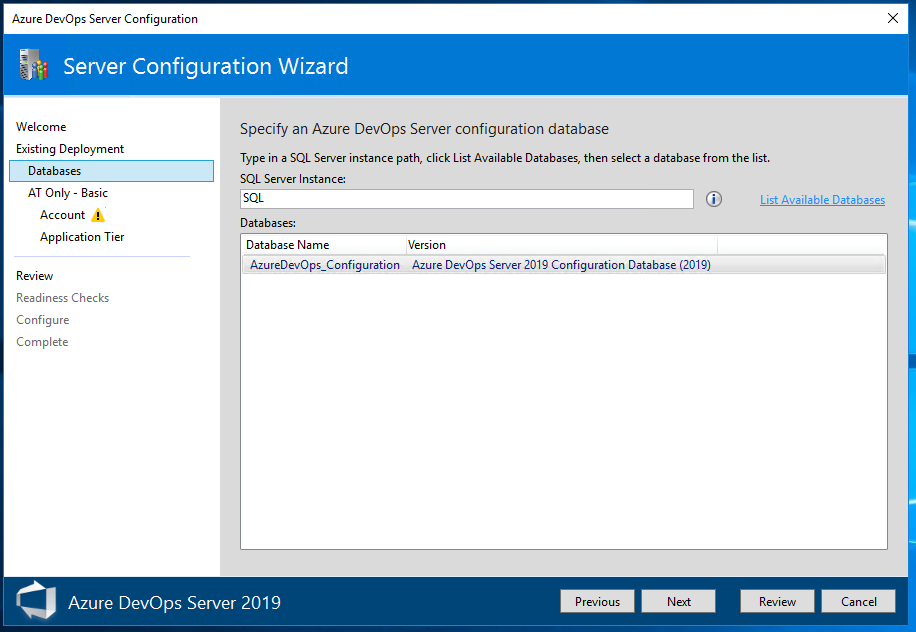
Enter the name of your SQL Server and then hit ‘List Available Databases’, select your previously created database and press ‘Next’.
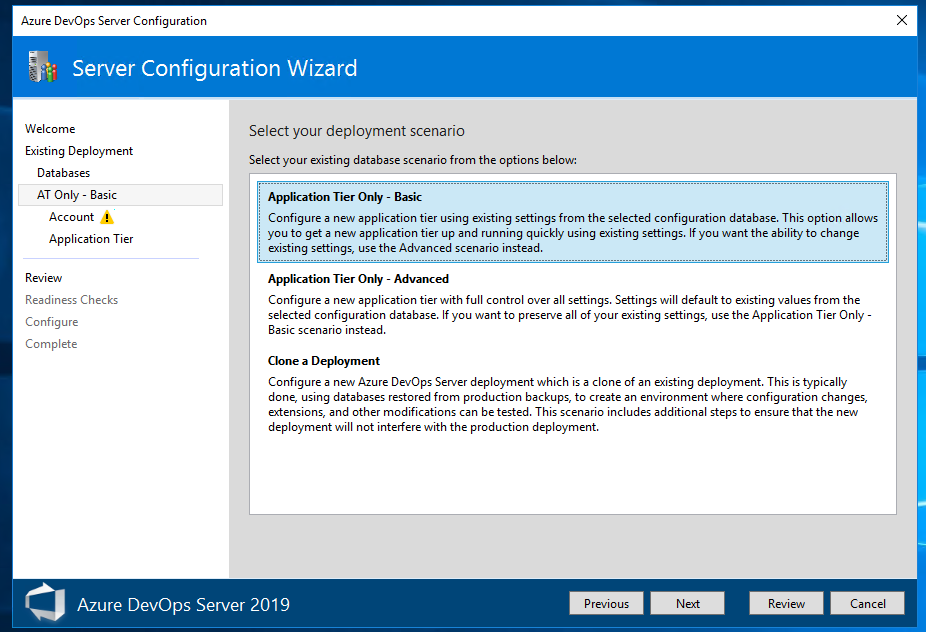
Like when we configured ADS1 you will be asked to choose a deployment scenario, I will be choosing ‘Basic’ however if you want to dive deeper into the settings choose ‘Advanced’.
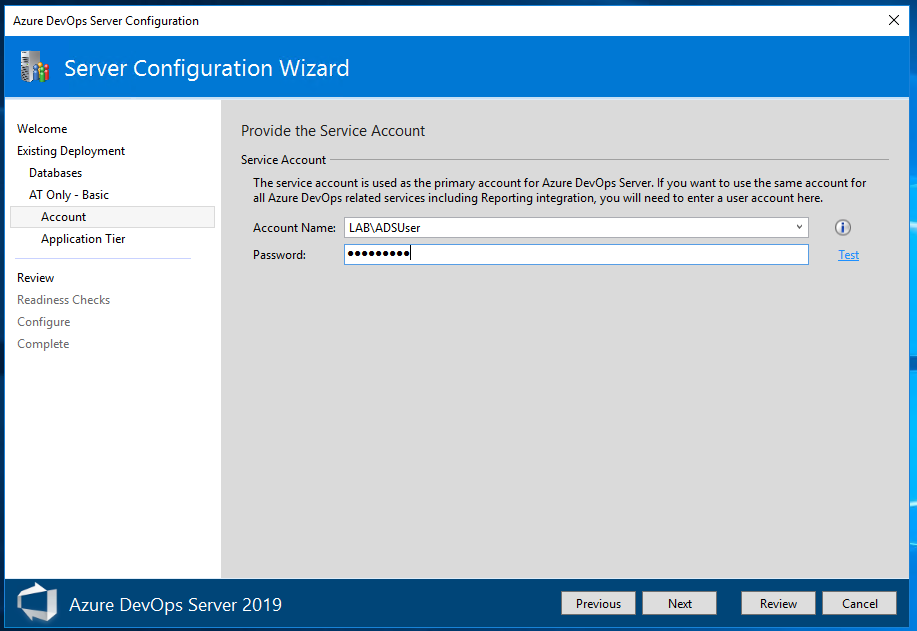
Next enter the service account information you previously used when configuring ADS1
Configure the web settings and the cache location to your liking, I’ll be leaving mine at the default values however as previously stated if you are installing in a production environment I suggest setting the File Cache Location.
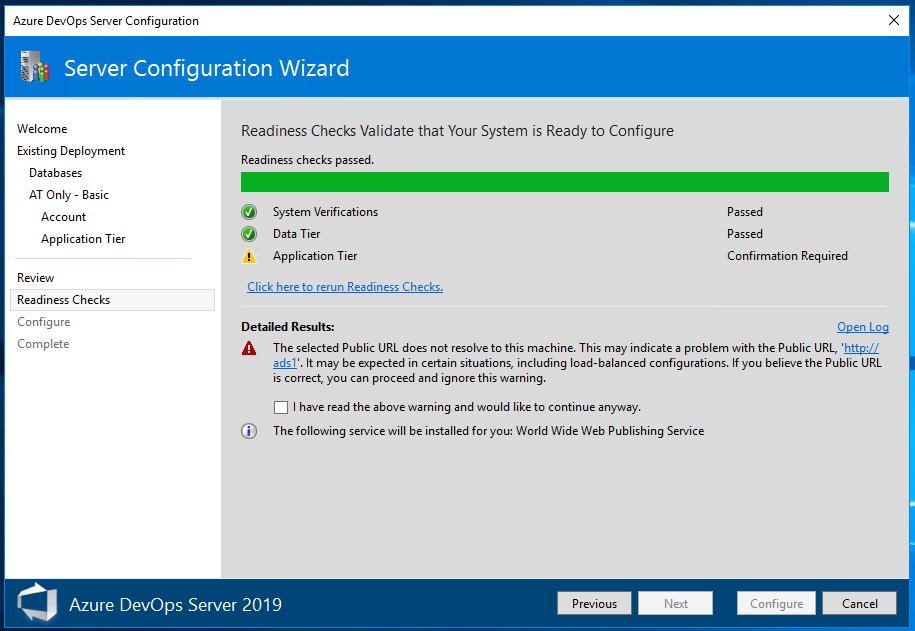
Double check your settings and press verify, this shouldn’t take long as there is much less to verify this time.
You will get a message stating the Public URL does not resolve to this machine, this is expected as we will be load balancing between our application tiers. Confirm you have read the warning and would like to continue anyway and press ‘Configure’.
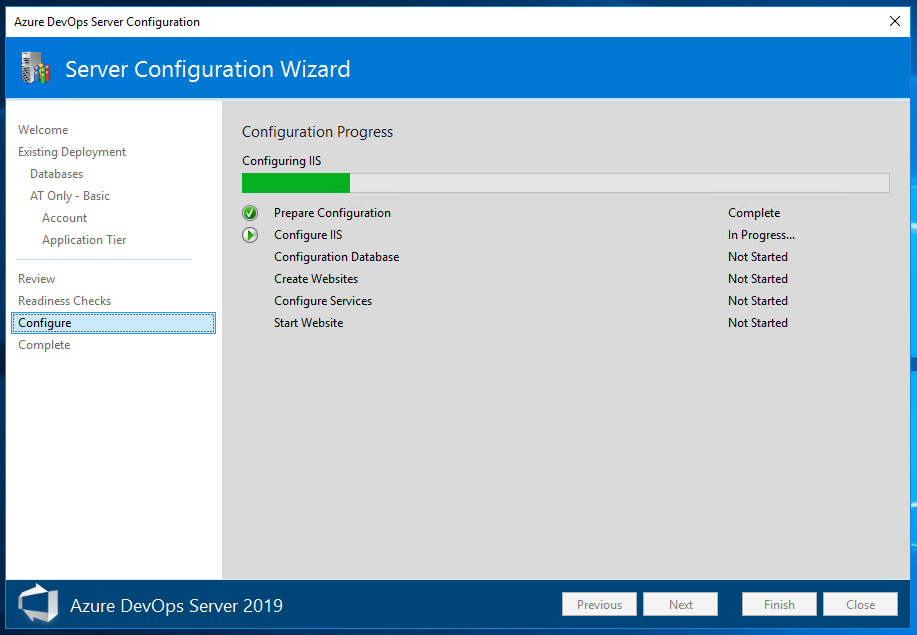
This shouldn’t take too long so sit back and wait for it to complete.
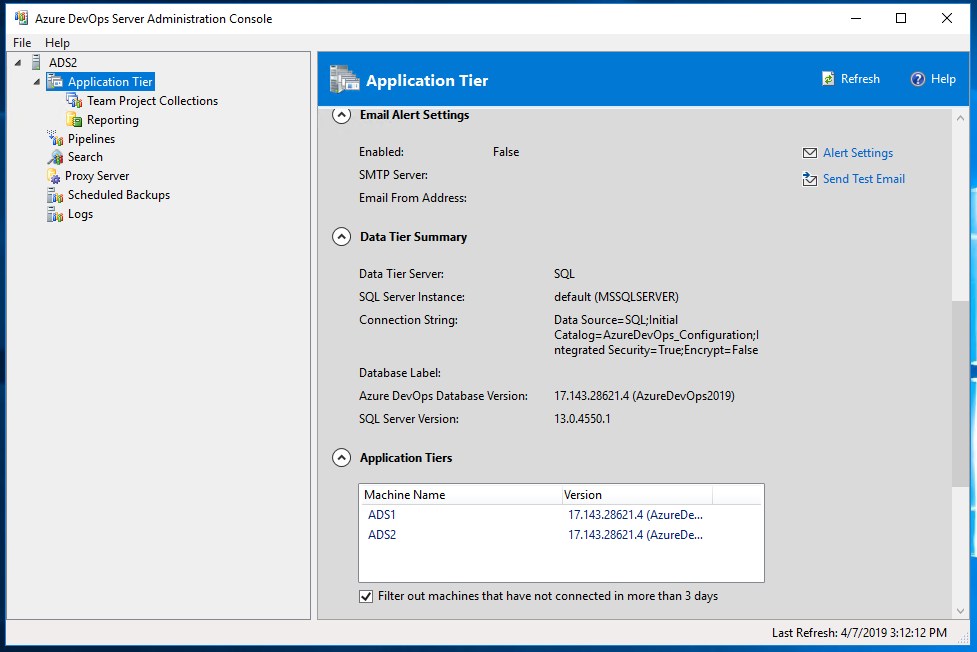
Once completed press ‘Next’ and ‘Close’. In the Azure DevOps Server Administration Console select ‘Application Tier’ and scroll down to ‘Application Tiers’, both our instances should be visible.
We can check ADS2 is working correctly by navigating to the instance using your browser. If everything is working the ADS Projects Home should be shown.

Installing and Configuring HAProxy
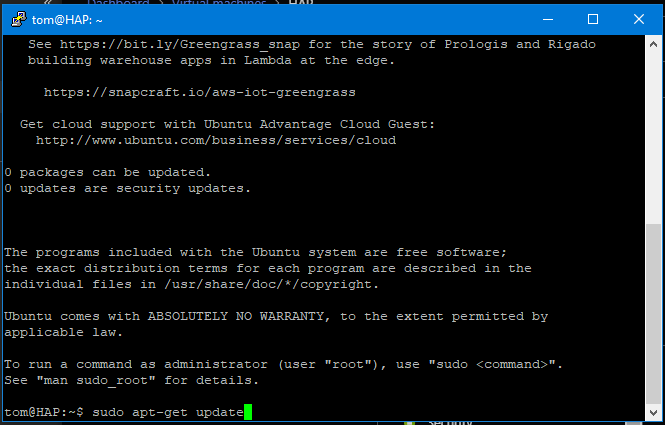
Now we can start congfiguring HAProxy! Start by SSHing into your ‘nix server and running apt-get update to make sure everything is up-to-date.
Once done run the following command to install HAProxy.
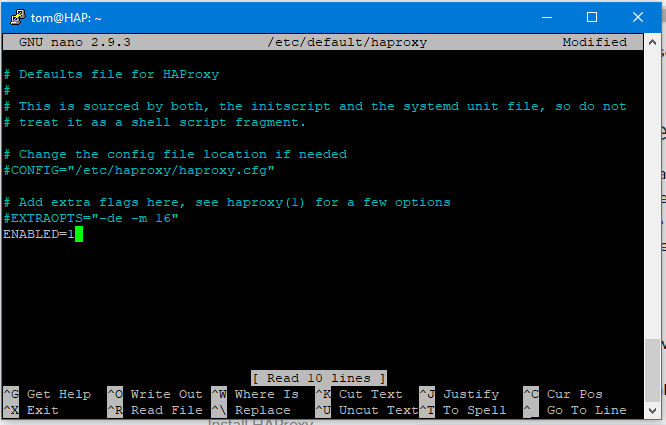
sudo apt-get install haproxyOnce HAProxy is downloaded and installed we need to enable the init script, this will allow HAProxy to autostart. Run the following command to edit the script with Nano.
sudo nano /etc/default/haproxyAppend Enabled=1 to the file and then save and close (ctrl+o, enter, ctrl+x).
Before we start configuring HAProxy lets make a backup of the config file in case anything goes wrong.
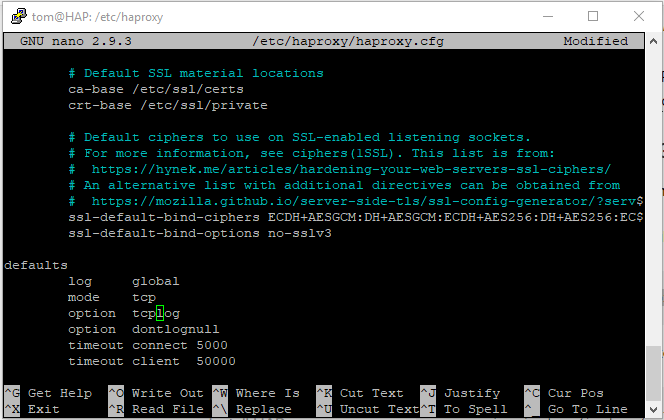
cd /etc/haproxy; sudo cp haproxy.cfg haproxy.cfg.origNow lets open the config file
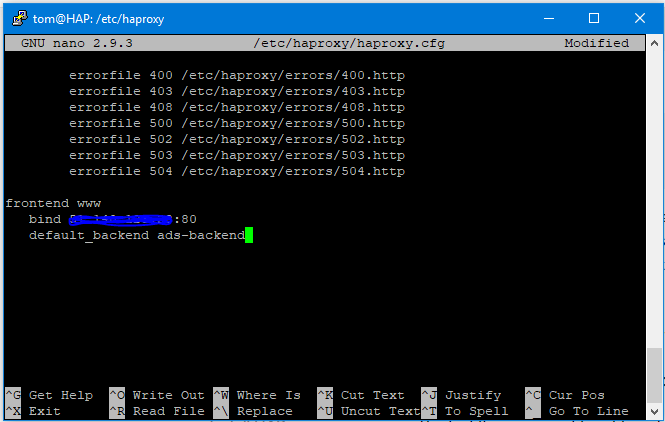
sudo nano /etc/haproxy/haproxy.cfgUnder defaults change mode to tcp and option to tcplog. This will configure HAProxy to perform layer 4 load balancing.
Now we need to configure our frontend and backends, at the end of the config file add the following configuration (enter the ip address of your HAProxy instance where I have blocked mine out). I wont go into detail what these settings do but read this excellent article on Digital Ocean for more info.
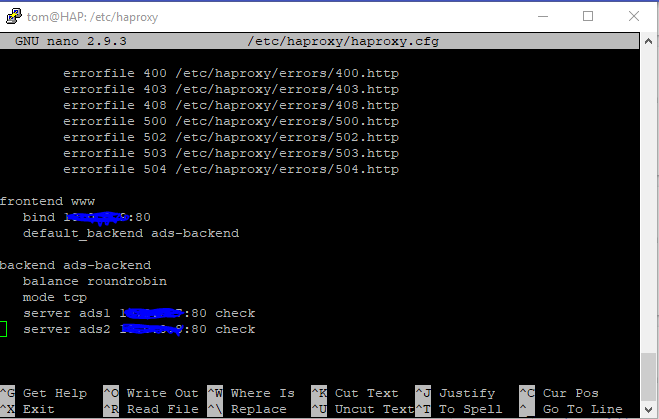
Now lets add our backends! Put the ip addresses of your ADS instances where I have blocked mine out.
Save and Exit and we’re almost done! Let’s just restart HAProxy to enable our changes.
sudo service haproxy restartIf we now navigate to the IP address of our HAProxy server we should be prompted to enter our ADS credentials and then be able to see the Projects Home Page. We’re now load balancing between our ADS Instances!

Adding a DNS Record
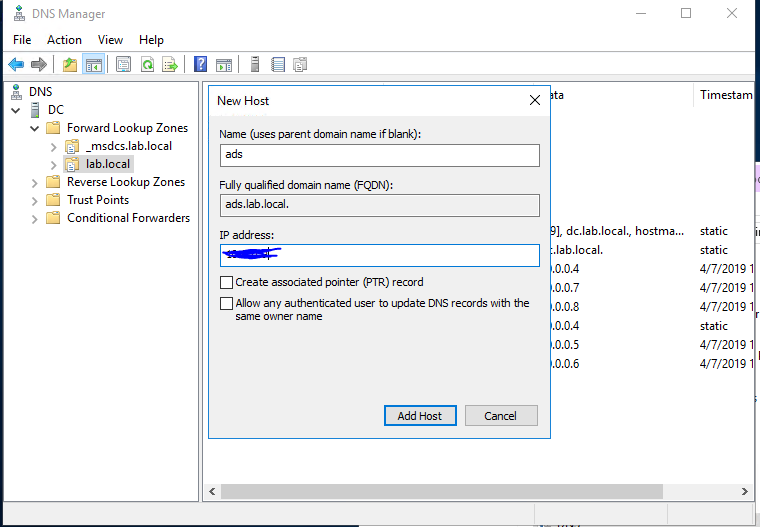
Entering the IP address of our HAProxy server is not the most user-friendly thing so there are a few more changes we can make to make things easier. Remote into your domain controller and open ‘DNS’. Expand ‘Forward Lookup Zones’, right click and select ‘New Host’. Enter ‘ads’ in ‘Name’ and enter the IP address of your HAProxy server in the ‘IP address’ box.
Hit ‘Add host’ and then press ‘Done’. You should now be able to access ADS by typing ADS in your browsers url bar.

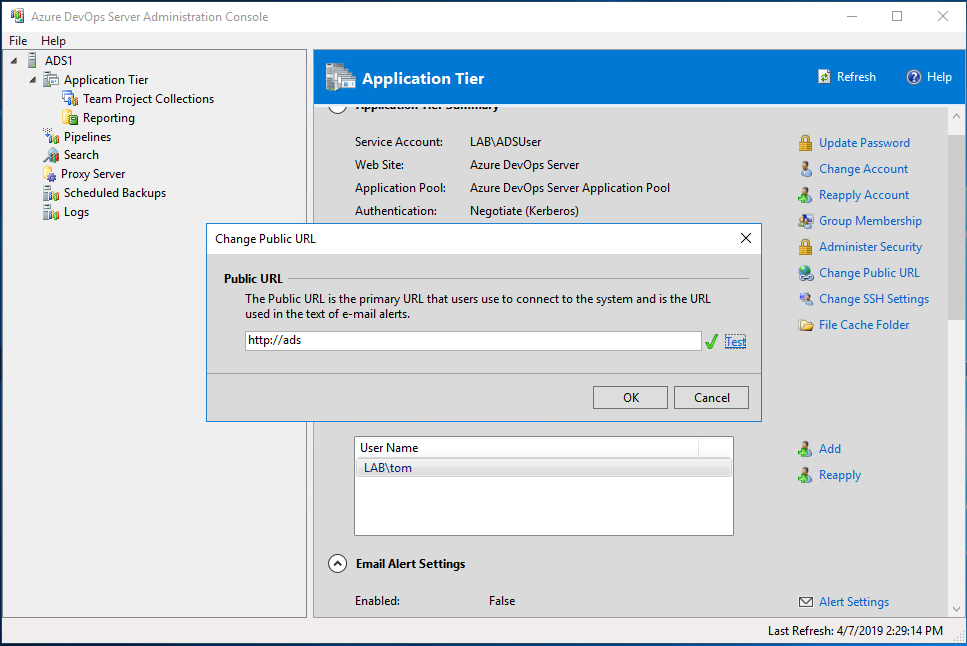
Almost there! The last thing to do is change the Public URL of ADS. Remote back onto one of your ADS instances and open the Azure DevOps Server Administration Console. Click ‘Application Tier’ and select ‘Change Public URL’ on the right. Enter ‘ads’ in the field and press ‘Test’, you should see a tick if everything is good!
That’s it! When your users browse to http://ads they are being load balanced between both of the ADS Instances. We could take things further by adding a second HAProxy instance to take over in the event our first one failed and even add a SQL cluster but both of these our outside the scope of this article.